We decided quite early on that things would be simpler if the home sitting on the tray of the vehicle rather than built onto the chassis. This was partly because this mean’t it wasn’t subject to motor home inspections, but also because it mean’t we could unload it when we wanted to use the car as a normal car. Unloading the home for the first time was always going to be a bit nerve racking the first time and at the last moment we did end up backing out and postponing the operation.
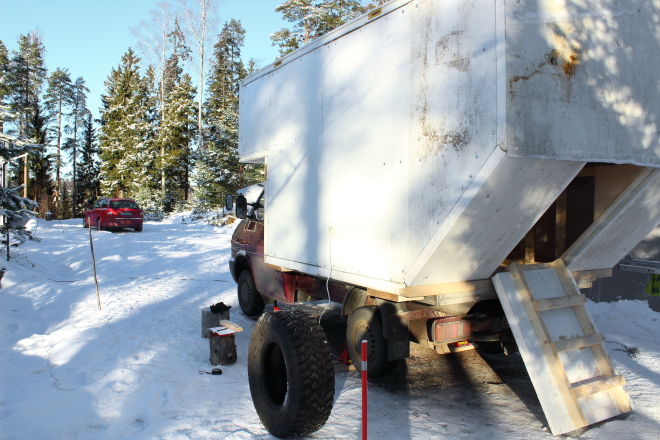
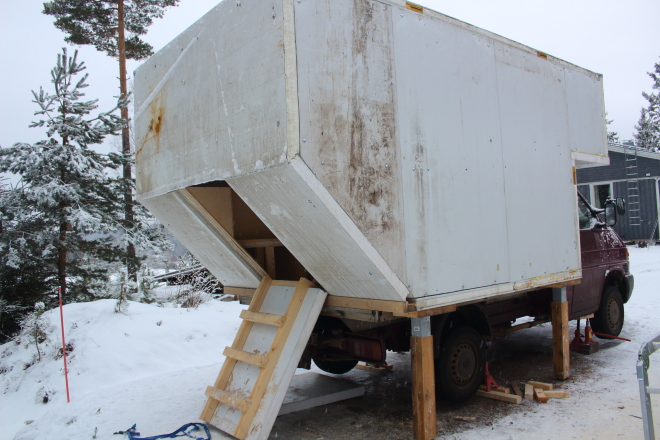
So here we are, one very large box sitting on a the tray of the vehicle.

So the basic concept was to jack the car up, bolt some legs under it, lower the car back down, and drive out from underneath it leaving The Hus standing high and dry on a set of legs.
Step 1 – Making some legs
The idea is for each corner to be supported by a post and each post to be cross braced to each other and to the side of the vehicle to eliminate any wobble.

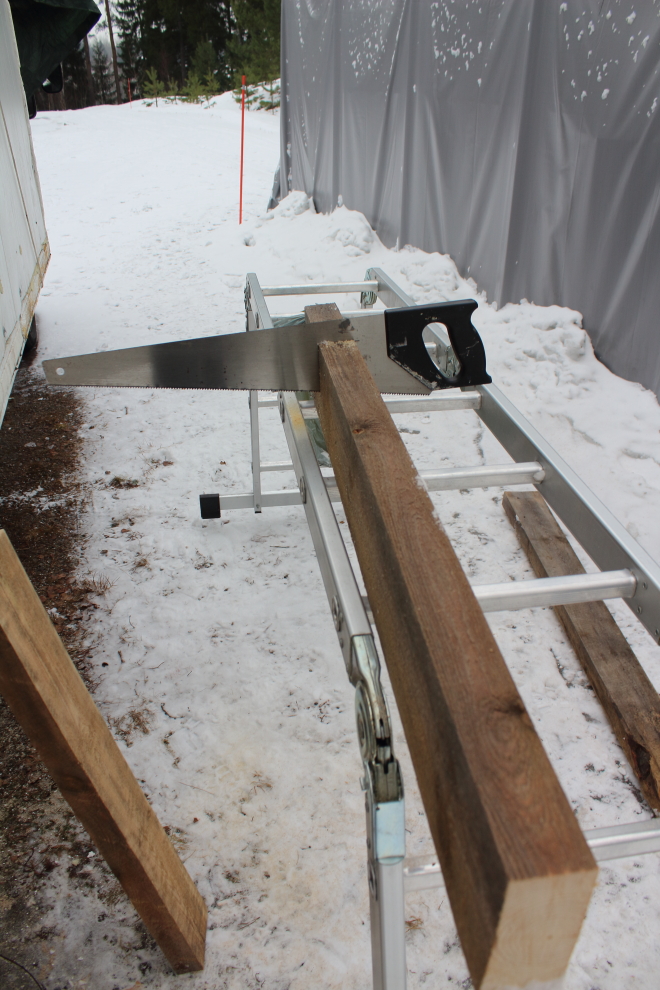
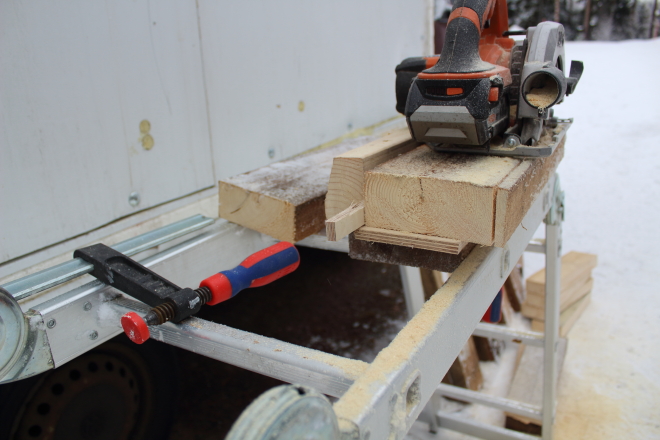
Because the timber was of unknown type, origin and strength, we decided to stick 2 pieces together with a Sikaflex wood glue product and some screws.


Having sanded one face of each board to expose a fresh surface to stick to, a liberal application of glue was applied. I’m not really sure what type of glue it is, initially it looked like PVA but it dries white, doesn’t freeze and stays a little bit rubbery. Seems to work quite well.
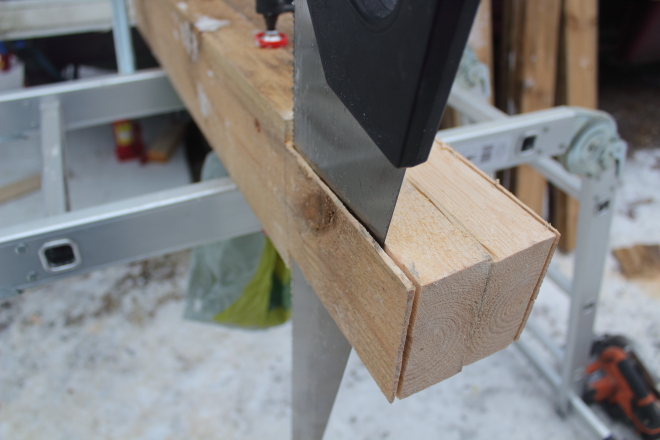
Fortunately the wood is quite soft and the screws thick. So it only took 3 in each side to pull it together nice and tight.


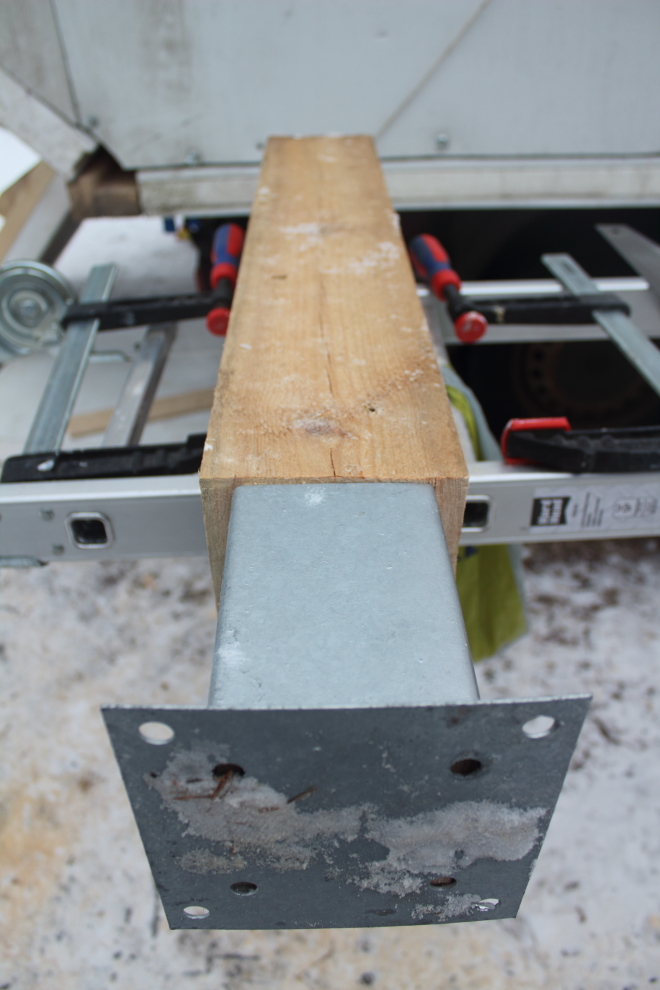
The planks were a little bit big for what we were doing 120mm x 50mm (about 5’x2′) so each one had to have a square 91mm x 91mm cut in.
These steel brackets were a real unknown, we bought them from Biltema (a large discount autoparts shop) for about 3 euros each and I guess I felt the construction could have been better and decided to use epoxy to strengthen the base.

They were a tight fit, which in retrospect might make them difficult to get back off if we need to. Ahh well, it was -4 degree this day so maybe when the metal warms up a little it wont be a problem.

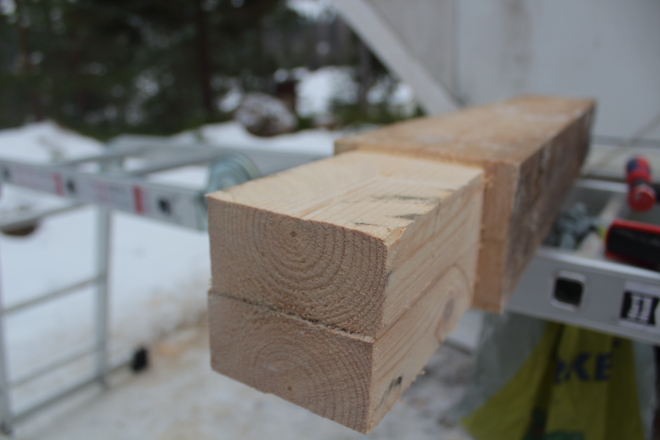
They feel very solid and straight enough, so we were happy with this outcome.
Step 2 – Preparing the Hus for lifting.
The Hus is made from 80mm thick cool room panels and an internal timber frame. The cool room panels have really surprised us with their overall strength. Internal and external layers of sheet metal with a low profile corrugation bonded to expanded polystyrene in the core gives it amazing properties. The timber frame really isn’t for strength, but as a joining system between the panels themselves.
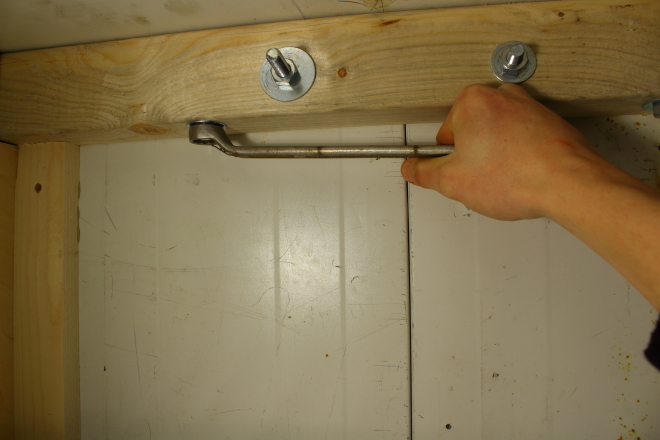
Before de-mounting the Hus the entire frame gets a once over. Extra bolts get added, some missing washers get put in and even a few extra timbers get installed. Bolting the new internal walls to the external frame allowed us to use the 9mm plywood sheets as cross bracing making the box even more rigid. The legs are not height adjustable, so like a table rocks on 2 legs we would rather have it do that then be bending and flexing.
Step 3 – Making some mounting pads
There were 3 questions to answer this day with the lift:
- Were the steel mounts strong enough?
- Was the surface area between the steel mounts and the Hus large enough?
- Was the ice on the ground an issue?
Rather than find out the hard way, we decided to take a few extra precautions.
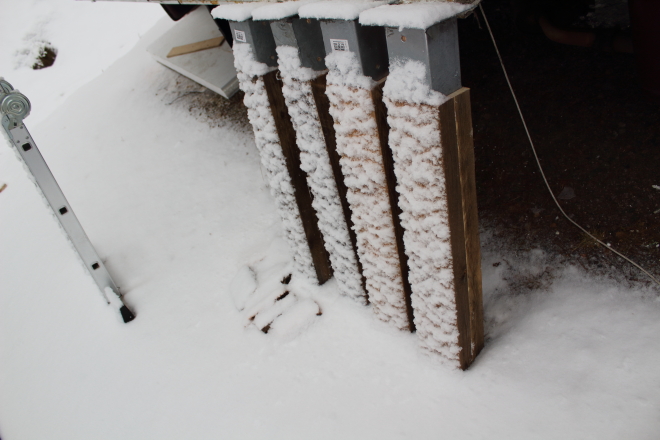
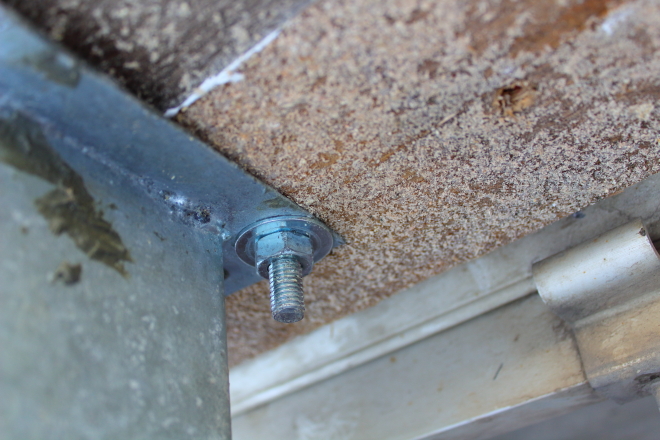
The first precaution was to make some timber mounting pads to sit between the Hus and the steel legs – just something solid to spread the load and reduce the point load of the legs, also it served as something hard and thick to screw / bolt into.

It was cold and the batteries were not liking it, so they needed to be constantly kept warm in order to work. This halogen work light did the trick nicely.

Another length of the mystery timber gets used to make some mounting pads. Again they were slightly too wide, so needed to be cut down to size.

240mm x 400mm pads seemed like a good increase to the point load from the 120mm x 120mm of the steel mounts.
Just so that they wouldn’t be protruding from the side and to expose a good surface for bonding to.
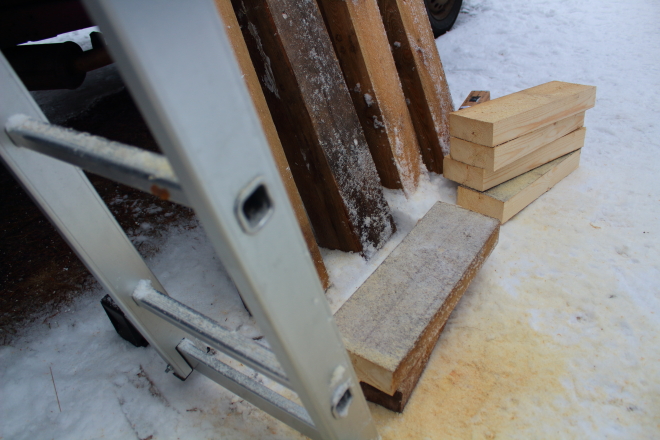
Repeating the process of making the legs, we are using 2 pieces side by side this time to make the lifting pads – gluing, clamping and screwing.


This construction adhesive called Sikabond 500 has been excellent. Two other types we have tried simply haven’t gone off in the cold environment.
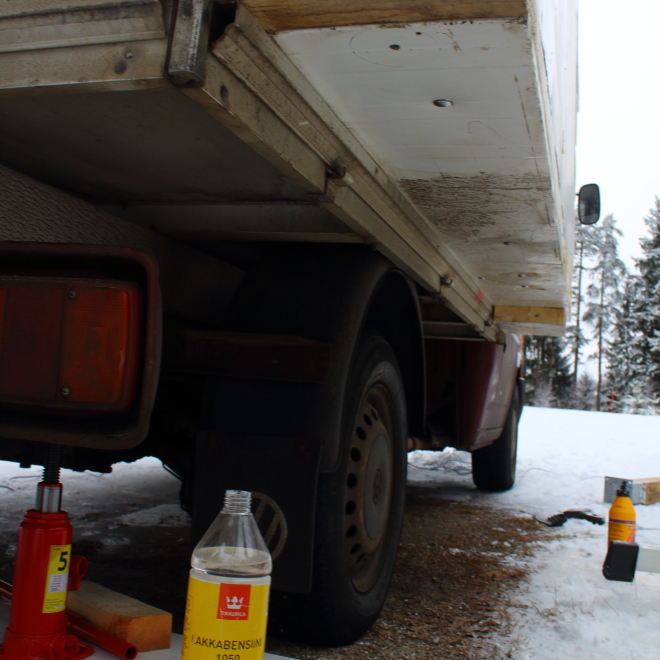
The underside gets quite a lot of road grime stuck to it so using a solvent cleaning agent – I found this benzene product which works very well – to remove the dust and dirt also primes the paint a little for a good contact.
And then finally the lifting pads are installed. It took a couple of hours, but I think it was time well spent. It did however, put us a bit behind schedule to pickup some bargain tyres and metal sheeting in the afternoon, but as you will find out it worked out for the best.

Step 4 – Spikes for the legs!
I’m really bad at walking on ice, so bad that having slipped over badly multiple times this winter, I was given these shoe spikes (usually reserved for the elderly).

And it has been seriously icy, a layer at least 1 cm thick covered the ground.

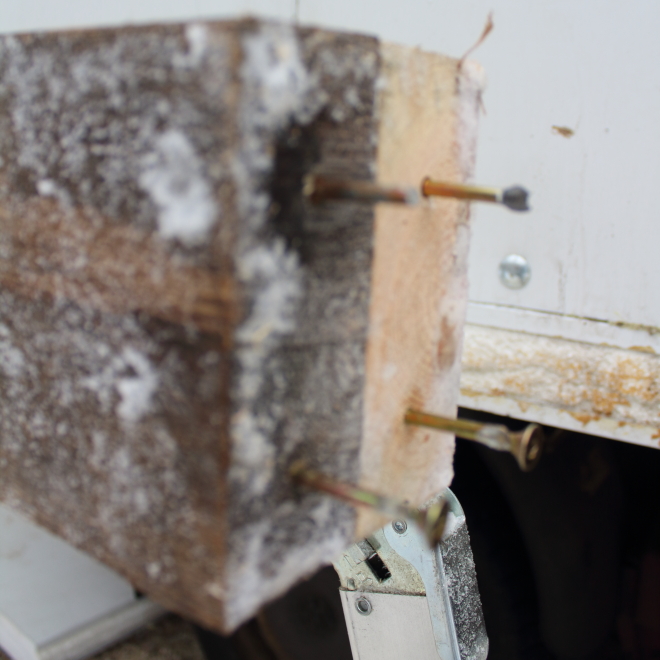
So inspired by these shoe spikes, I decided to make my own spikes for The Husbil’s legs from some screws.

The screw heads seemed a little bit big, and after a failed attempt to cut them off with the reciprocating saw, I found the plumbing press tool which squeezed them off into some nice pointed spikes.
Step 5 – Lifting the bil
This was not as easy as the pictures make out, as we needed to jack up a long way. It was a long process of lift, support, re-position and lift again. This took a lot longer than expected.
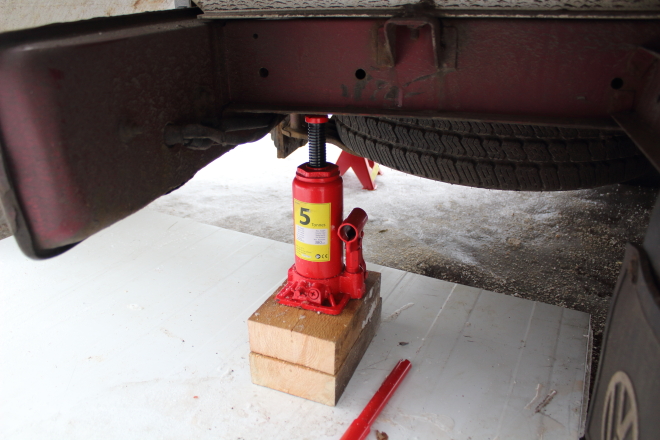
It took some convincing after referring to the manual about the jack points under the car that these were in fact the designated points, but they seem to work well.
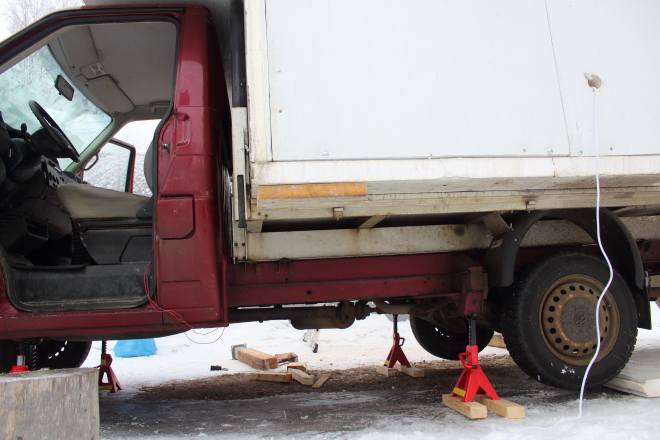
But we got there eventually.
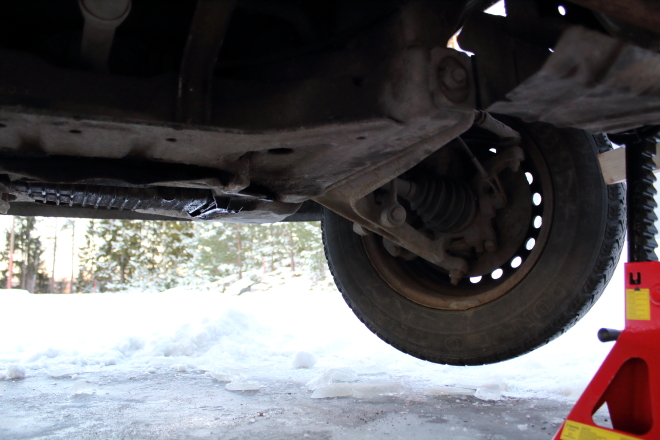
So now with adequate clearance, it was time to fit the legs under.

My spikes were working a little bit too well and needed some extra muscle to get them under.
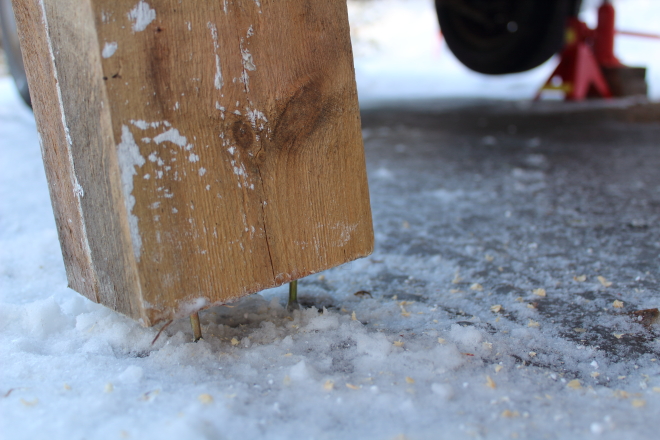
The spikes actually ended up working quite well to keep the legs in the right position.
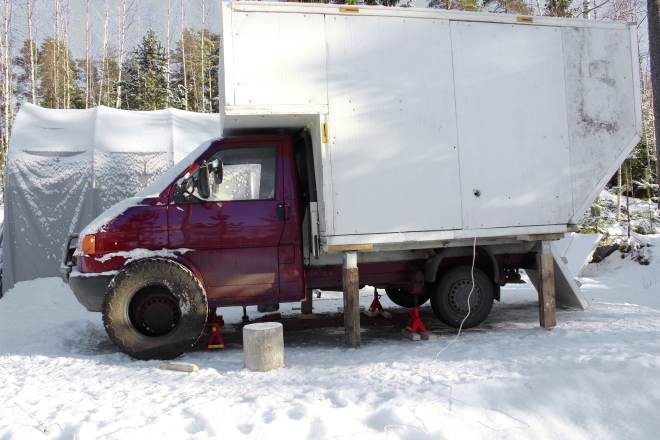
Bolted on.
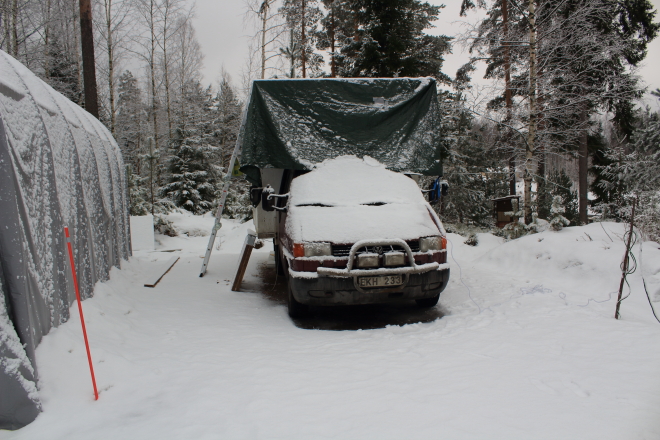
And we are looking good the next morning with some sunshine!
However, with the clear skies came the cold weather from the east.

And a good opportunity for some nature photography.


The previous afternoon we scored an absolute bargain on some offroad tyres (300 euros for 4 35inch Hankook Mud Terrain all season tyres) after some long running negotiations – new these tyres are worth about 250 euros each! so with 50% life left in them, these were a great score.
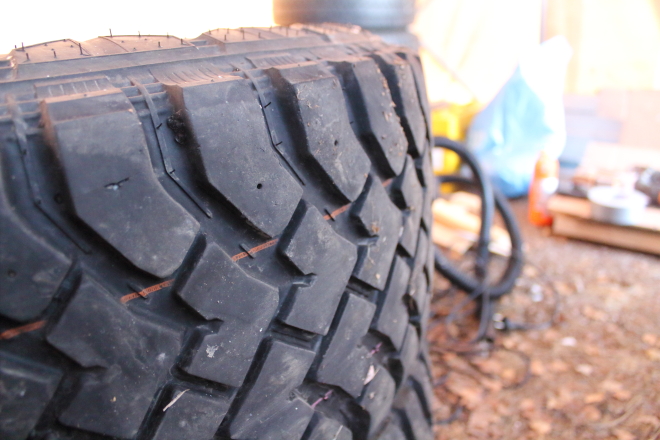
The standard tyres are small, only around 25 inches diameter, so going 10 inches bigger we realised that if we unloaded the Hus and then put the new tyres on we would be too high off the ground to get back under the Hus again!
So we aborted the mission in favour of fitting the new tyres before retrying the de-mounting of the vehicle.

So, with the legs removed it’s on to the next mission of fitting the wheels.